
用 Nano Banana AI 修图:12 条真正好用的提示词
Nano Banana 修图入门:上传照片、用一句话说清要改什么,再配上 12 条可直接复制的 Nano Banana 提示词,换背景、改光线、去杂物、做海报都能搞定。
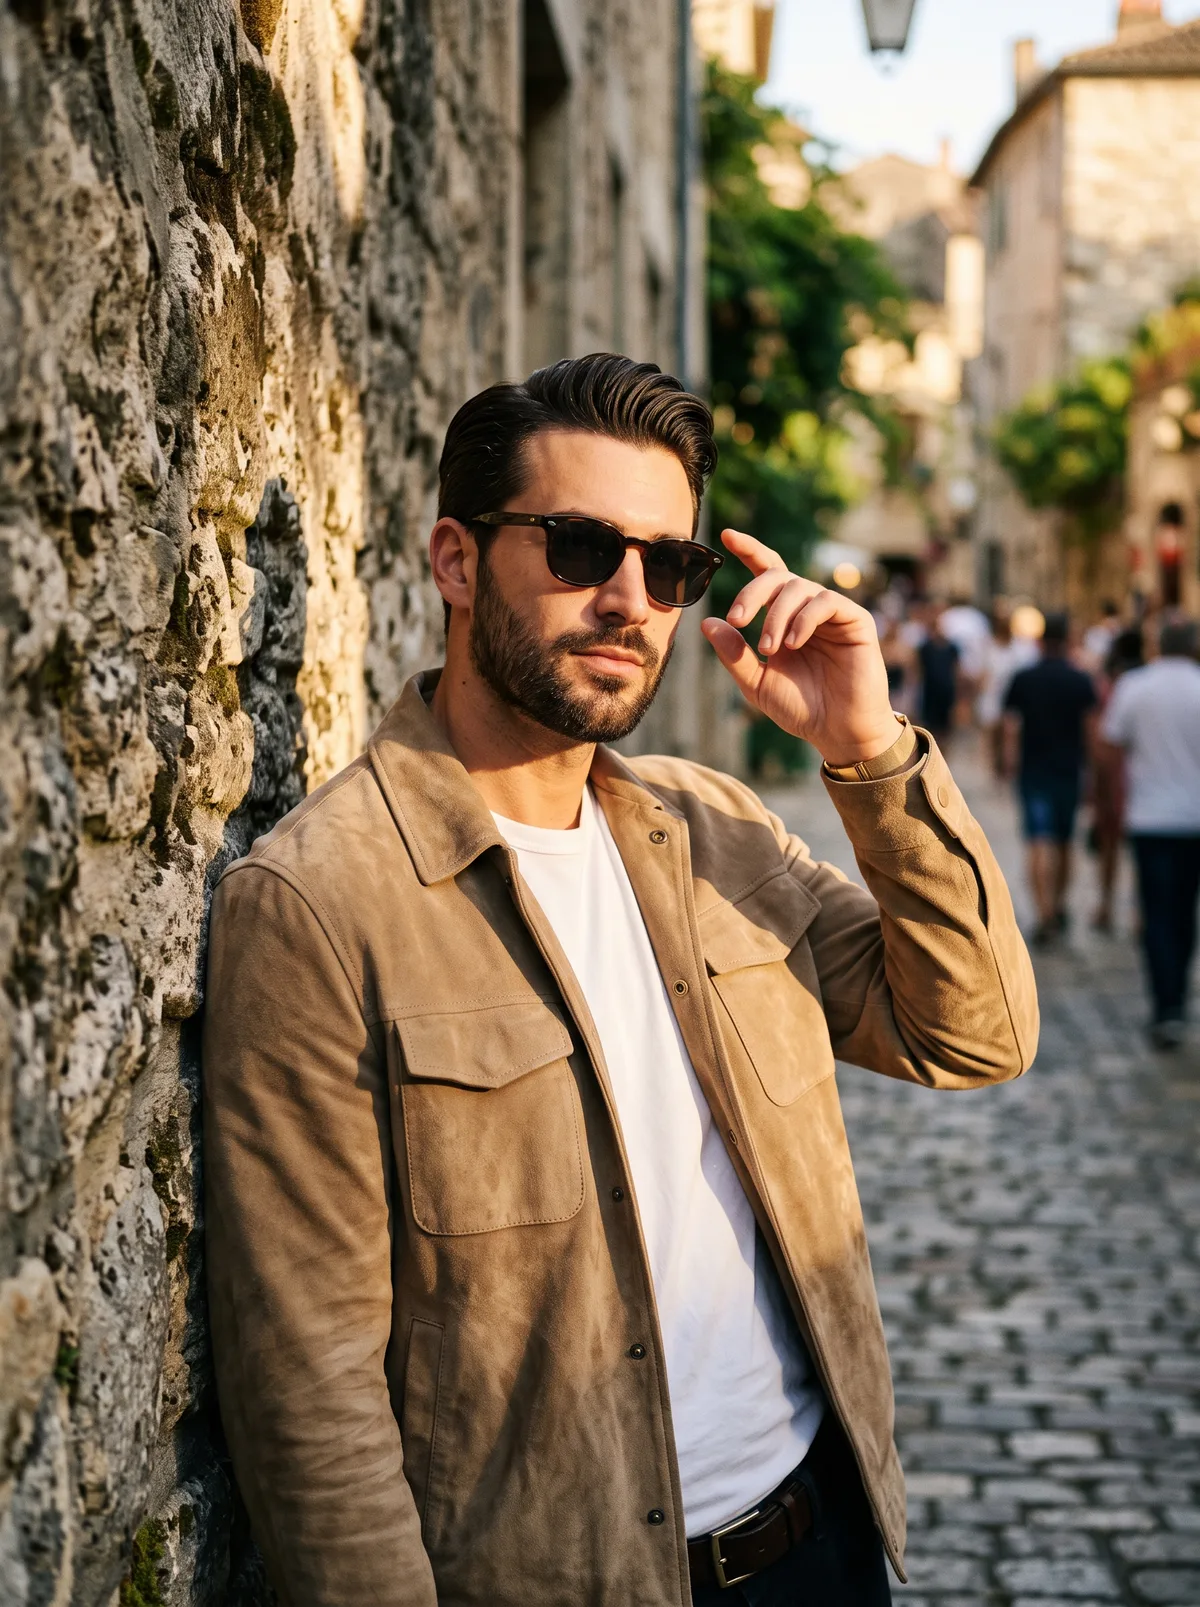
用 Nano Banana AI 修图,和打开传统修图软件完全是两回事:没有图层,没有蒙版,也不用一笔一笔地涂。你只需要上传一张照片,用一两句话说明想改哪里,Nano Banana 就会给你一张改好的新图。顺利的时候,过去要在软件里折腾一下午的活儿,一分钟就能出结果;不顺利的时候,原因几乎总是提示词留了空子。这篇文章整理了 12 条 Nano Banana 修图提示词,按用途分好类,写得足够具体,通常第一、二次就能出满意的效果。
参考图修图是怎么回事
在 Studio 里,你附上的每张图都会作为参考图。所有模型每次生成最多支持 8 张参考图。大多数修图只需要一张——就是你要改的那张照片;想从别的图里"借"点东西过来时,比如一件外套、一个标志或一片背景,再多加几张。
整个流程分三步:
- 上传照片。 尽量用最清晰的原图。原图里没有的细节,模型也变不出来。
- 用大白话描述改动。 就像给修图师提需求一样:"把背景换成日落时安静的海滩。" 不需要堆关键词,也不需要特殊语法。
- 说清楚哪些不能动。 这一步最容易被忽略。你只说"换背景",模型可能顺手把脸、姿势甚至衣服颜色也改了,因为没人告诉它别动。补一句"保持不变",大部分问题就解决了。
几乎所有修图都能套用这个模板:
Edit the attached photo: [the change]. Keep [what must not change] exactly as it is. [Optional: style, light or format notes.]
意思是:"修改附图:[要改的内容]。[不能改的部分] 保持原样。[可选:风格、光线或格式说明。]"
提示词最长可以写 3,000 个字符,但修图提示词往往越短越好。一次只改一件事,比一段话里塞五个改动效果好得多。
12 条 Nano Banana 修图提示词
下面的提示词保留英文原文,可以直接复制使用;每条后面附上中文说明和一句小技巧。细节换成你自己的就行,但"保持不变"那一句千万别删——真正起作用的就是它。
背景与光线
1. 更换背景
Replace the background of the attached photo with a quiet European side street in soft morning light, slightly out of focus. Keep the person, their pose, clothing, hair and face exactly the same. Match the lighting on the person to the new background.
说明:把背景换成晨光下虚化的欧洲小街,人物的姿势、衣服、发型和面孔都不变,并让人物身上的光线与新背景一致。
小技巧:要求"人物光线匹配新背景",才能避免那种一眼就看出是抠图贴上去的感觉。
2. 重新打光 / 改变时段
Change the lighting of the attached photo to golden hour: low warm sun from the left, long soft shadows, a warm glow on skin and walls. Keep the composition, the people and every object in the same place.
说明:把光线改成黄金时刻——左侧低角度暖阳、柔和的长影子,构图和所有物体位置不变。
小技巧:一定要写明光的方向。只写"黄金时刻",太阳可能从任何地方照过来。
3. 换季节
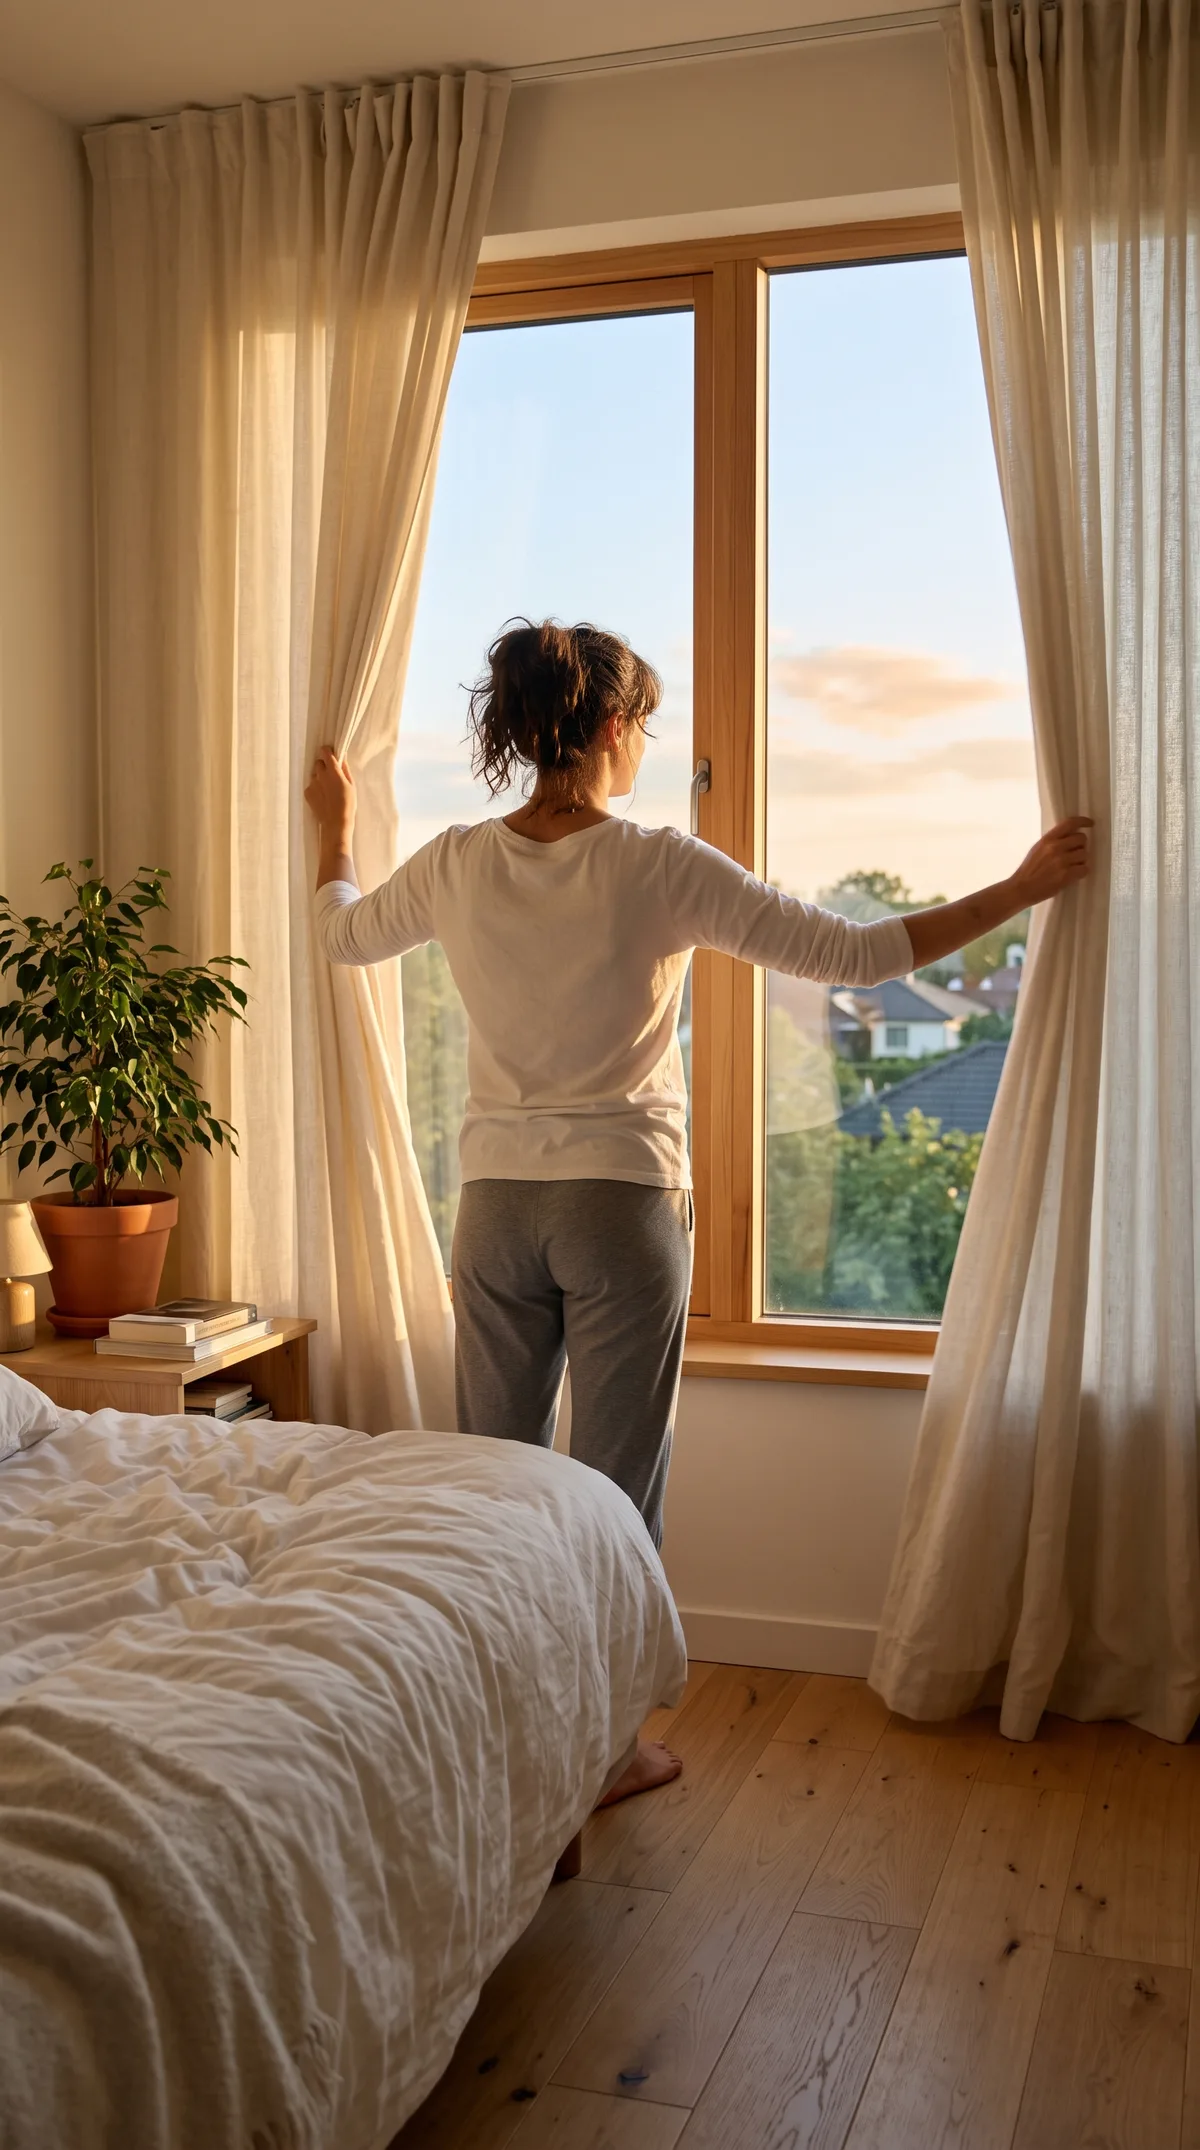
Turn the scene in the attached photo into a snowy winter day: fresh snow on the ground, rooftops and branches, overcast sky, cold blue tones. Keep the buildings, the street layout and the camera angle unchanged.
说明:把场景变成下雪的冬日,地面、屋顶和树枝积雪,天空阴沉、色调偏冷;建筑、街道布局和拍摄角度不变。
小技巧:列出要积雪的具体位置,雪才会落在现实中该落的地方。
人像与穿搭
4. 换一身衣服
Dress the person in the attached photo in a fitted charcoal wool coat over a cream turtleneck. Keep their face, hairstyle, body shape, pose and the background exactly the same.
说明:给照片里的人换上炭灰色修身羊毛大衣配米白高领毛衣,脸、发型、身材、姿势和背景都不变。
小技巧:想换成某件具体的衣服,就再上传一张这件衣服的照片,在提示词里写 "the coat from image 2"(第 2 张图里的大衣)。
5. 老照片修复与上色
Restore the attached old photograph: remove scratches, dust and creases, recover detail in the faces, and colourise it with natural, period-appropriate colours. Keep every person's facial features, expression and the original composition unchanged. Do not modernise clothing or hairstyles.
说明:去除划痕、灰尘和折痕,恢复面部细节,并用符合年代感的自然色彩上色;每个人的五官、表情和原构图都保持不变,不要把衣着发型"现代化"。
小技巧:"不要现代化"这句很关键,否则模型有时会把老式发型和衣服改成现在的样子。
6. 风格迁移
Redraw the attached photo as a soft watercolour illustration with loose brush strokes and visible paper texture. Keep the composition, the people's poses and the main colours recognisable.
说明:把照片重绘成柔和的水彩插画,笔触松散、能看到纸张纹理,构图、人物姿势和主色调仍然认得出来。
小技巧:风格迁移一定会改掉一些细节。先想好哪些必须保留(构图、配色还是脸),只把这些写进去。
清理与产品图
7. 去除杂物或路人
Remove the person walking in the background on the right of the attached photo, and fill the space with the wall and pavement that would naturally be behind them. Keep everything else in the image untouched.
说明:去掉照片右侧背景里走过的路人,用原本应该在后面的墙面和人行道自然补齐,其余部分一律不动。
小技巧:用位置和外观来指明对象("右侧""穿红夹克的"),模型才不会删错东西。
8. 产品图白底精修
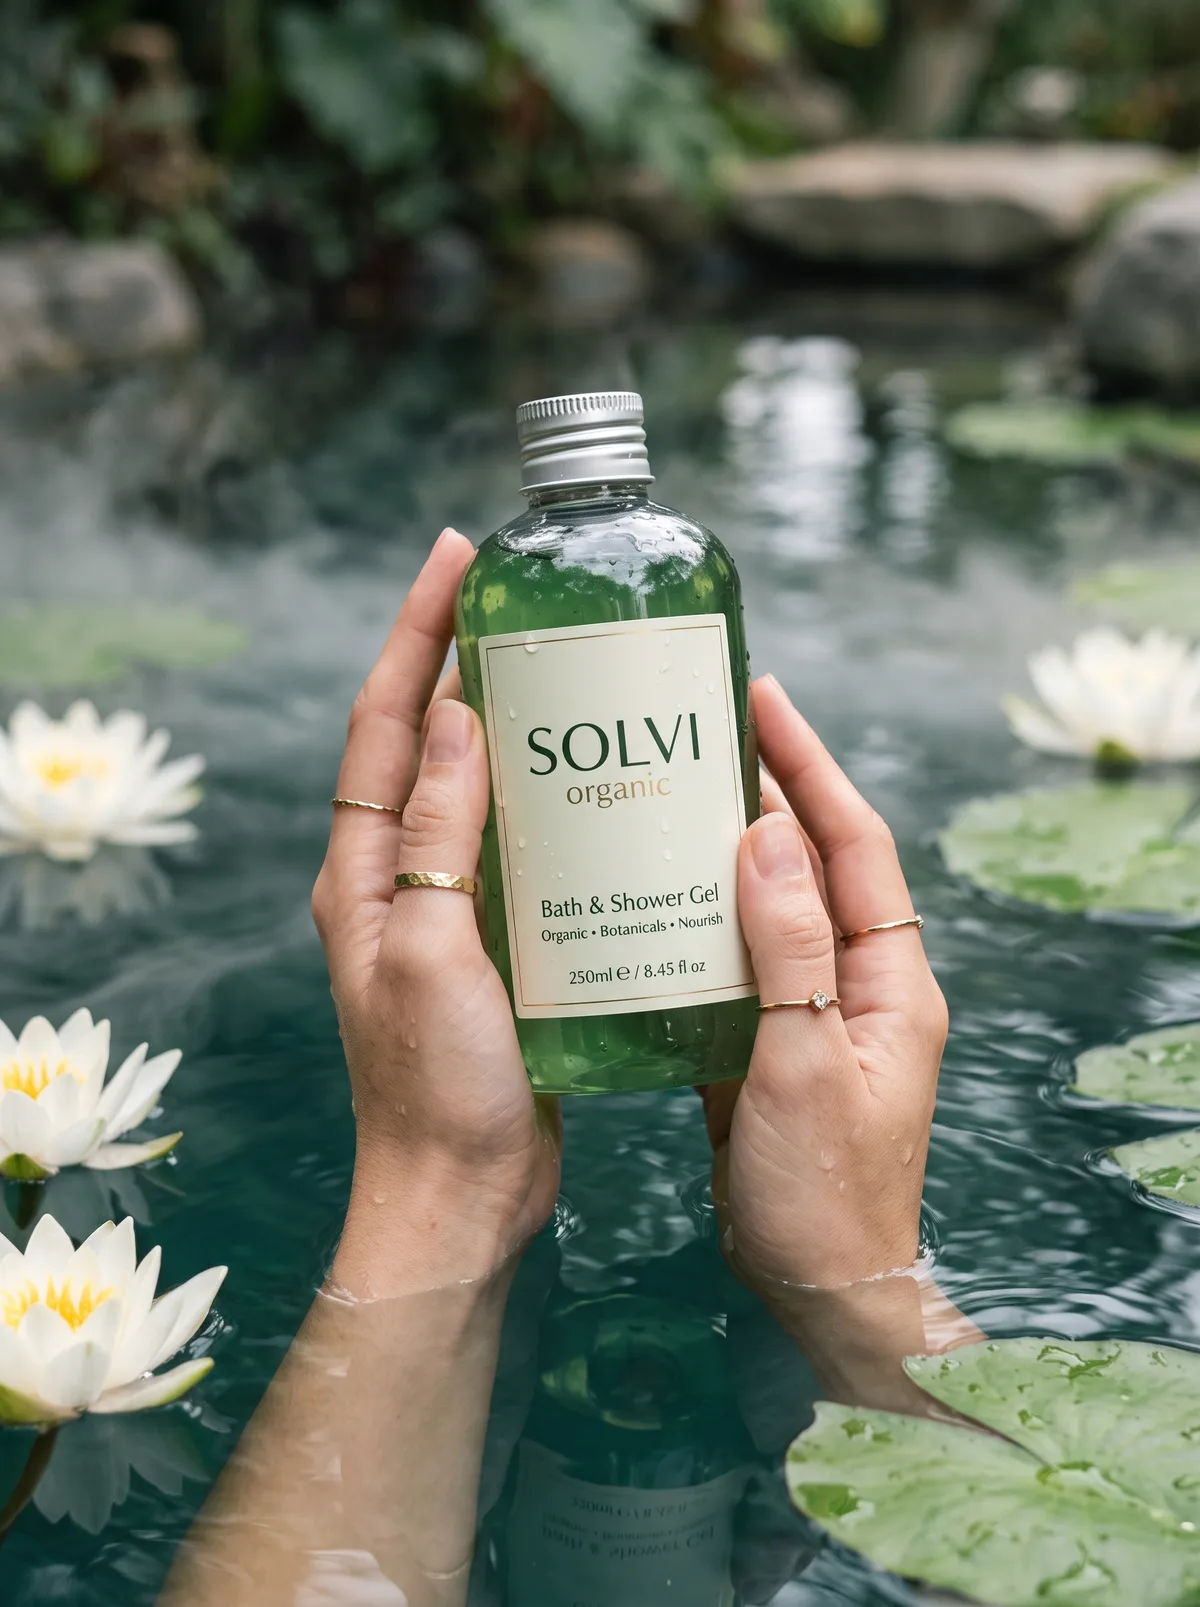
Place the product from the attached photo on a seamless pure white background with a soft, natural contact shadow beneath it. Remove dust and fingerprints. Keep the product's shape, label text, logo and colours exactly as they are.
说明:把产品放到无缝纯白背景上,底部加一道柔和自然的接触阴影,去掉灰尘和指纹;产品形状、标签文字、标志和颜色完全不变。
小技巧:标签和标志一定要写进"保持不变"。包装上的文字是最容易走样的部分。
9. 给产品换颜色
Change the colour of the sneaker in the attached photo to deep forest green, keeping the white sole, laces and logo as they are. Keep the material texture, stitching, reflections and background unchanged.
说明:把运动鞋改成深森林绿,白色鞋底、鞋带和标志保持原样;材质纹理、缝线、反光和背景都不变。
小技巧:哪些部位保留原色要写清楚,不然整个物体会被一起重新上色。
10. 做成贴纸 / 抠图
Turn the dog in the attached photo into a die-cut sticker: the dog only, with a thick white border following its outline and a subtle drop shadow, on a plain light grey background. Keep the dog's markings, fur colour and expression the same.
说明:只保留照片里的狗,做成沿轮廓带粗白边、略带投影的模切贴纸,放在纯浅灰背景上;花纹、毛色和表情不变。
小技巧:选一个干净、有反差的纯色背景,之后再抠图会轻松很多。
文字与画幅
11. 加文字做成海报
Turn the attached photo into an event poster. Add the headline "SUMMER MARKET" in bold white sans-serif at the top, and "Saturday 14 June, 10am to 4pm" in smaller text at the bottom. Keep the photo itself unchanged and leave the main subject unobstructed.
说明:把照片做成活动海报,顶部加粗白色无衬线标题,底部用小字写日期时间;照片本身不变,文字不要挡住主体。
小技巧:想出现在画面里的每个字都放进引号,一字不差地写出来,而且文字越少越稳。想做中文海报时,同样把中文原文放进引号里。
12. 扩图 / 改画幅比例
Extend the attached photo to a 16:9 landscape frame, continuing the beach, sea and sky naturally on both sides. Keep the original subject, their position and the lighting unchanged.
说明:把照片扩展成 16:9 横幅,两侧自然延伸出沙滩、海面和天空;原主体、位置和光线不变。
小技巧:别忘了在 Studio 的画幅设置里也选上目标比例。Nano Banana 系列模型支持从 9:16 到 21:9 的多种比例,也可以选 auto。
修图该选哪个模型
上面这些提示词在 Nano Banana 各个模型上都能用,在 Studio 里切换模型也不需要改提示词。
- Nano Banana 2:主打快速、多参考图的编辑和批量处理。要把同一种修改套到一大批照片上,或者想先多试几个版本再定稿,选它最合适。每张 40 积分起。
- Nano Banana Pro:画质最高的选择,擅长复杂场景、文字排版和 4K 输出。遇到难啃的修图——严重受损的老照片、元素很多的场景重新打光、文字必须清清楚楚的海报——就用它。每张 80 积分起。
- Nano Banana 2.1:Google 最新的 Flash 级模型,支持 8 张参考图、最高 4K 输出,适合当作日常默认选项。
当然,不一定所有事都交给 Google 的模型。GPT Image 2.5 Sunburst 专注于"只改你要求的部分"的精准编辑;Seedream 5 Lite 则是做参考图编辑和重新打光的实惠之选,2K 起步。实在拿不准,就把模型设成 Auto,让 Studio 帮你挑。各模型和套餐的积分价格见 /pricing。
常见误区
- 没写"保持不变"。 模型不知道你在乎什么。脸、标志或版式重要,就要明说。
- 一次改太多。 "换背景、换衣服、改成傍晚、再加只狗",四项里通常只能对两项。拆开来一步步做,每次用上一步的结果当参考图。
- 用词太虚。 "弄好看点""显得专业一点",模型没有方向可循。直接描述结果:"背景更亮更干净的白色,产品边缘更锐利"。
- 原图太糊。 模糊的手机截图变不成清晰的 4K 大图,尽量从最好的原图开始。
- 结果不对就反复重跑。 同一条提示词连续两次出错,与其原样再跑第三次,不如把出错的地方写得更具体,重新改一版提示词。
- 画幅没选对。 要发竖版快拍、横幅广告还是方图,生成前就把比例设好,别等生成完再裁。
常见问题
修图失败会扣积分吗?
不会。模型没能生成图片时,对应的积分会自动退回。
我上传的照片会被别人看到吗?
上传的参考照片永远不会公开展示。生成好的图片默认会出现在公开画廊里,除非你的套餐包含私密模式(Private Mode)。
一次修图最多能用几张照片?
每次生成最多 8 张参考图。在提示词里按编号指代它们(比如 "the jacket from image 2",即第 2 张图里的夹克),模型就知道每张图各自的用途。
Nano Banana One 是一家独立工作室,与 Google 没有任何关联,也未获其背书。